Tell me I’m not alone in having champagne taste on a tap water budget??
(Ok, I have to admit I stole that line from my friend Abby, but you get the picture, no?)
So you can empathize with falling in love with a piece of furniture (normal) and vomiting slightly when you catch sight of the price tag. Happens to me all the time. By now I’m starting to question if there isn’t a large magnet inside my chest attracted to the most expensive thing in the room. It’s a problem, really.
Anyway, when I started this new job I knew I was going to be working at least a few hours per day from home. Up until that point, our ottoman served as our primary work space, which wasn’t exactly going to cut it. I knew I wanted to put a desk in our window so I could work in a light, bright environment (I don’t do so well without sunlight). I loved the idea of something dark to ground all the white in that space, but with a marble top for visual interest (and because marble is so prettyyyyy). Knowing my insanely expensive taste, I shouldn’t really have been surprised when the desk I fell for was upwards of $700… (insert sobbing emoji here).
So I do what I usually do… which is find a way to get what I want, but without breaking the bank. Usually this involves some sort of elbow grease and a healthy dose of creative brain power. In this case, it involved a $39 desk from IKEA and a $7 roll of contact paper. Read on to see how I got the desk of my dreams, for a fraction of the price!
STEP 1: GATHER YOUR MATERIALS

You’ll need to purchase the IKEA Tarendo Dining Table and Marble Contact Paper. You’ll also need a pair of scissors and an X-Acto Knife if you have one (if not, no big deal). Assemble the desk (this is where the elbow grease and upbeat attitude come into play) and give it a good wipe down with a damp cloth.

STEP 2: MEASURE TWICE, CUT ONCE

Measure out your first cut of contact paper. Be sure to leave at least an extra two inches on both sides so it wraps all the way around the edges. Mark where you plan to make your cut. Here’s the best thing about most contact papers – they have grid lines on the back side so you can cut in a straight line! That’s always incredibly difficult for me (#challenged). Also, don’t be dumb like me and remember to measure twice, cut once!
STEP 3: GET STICKY WITH IT

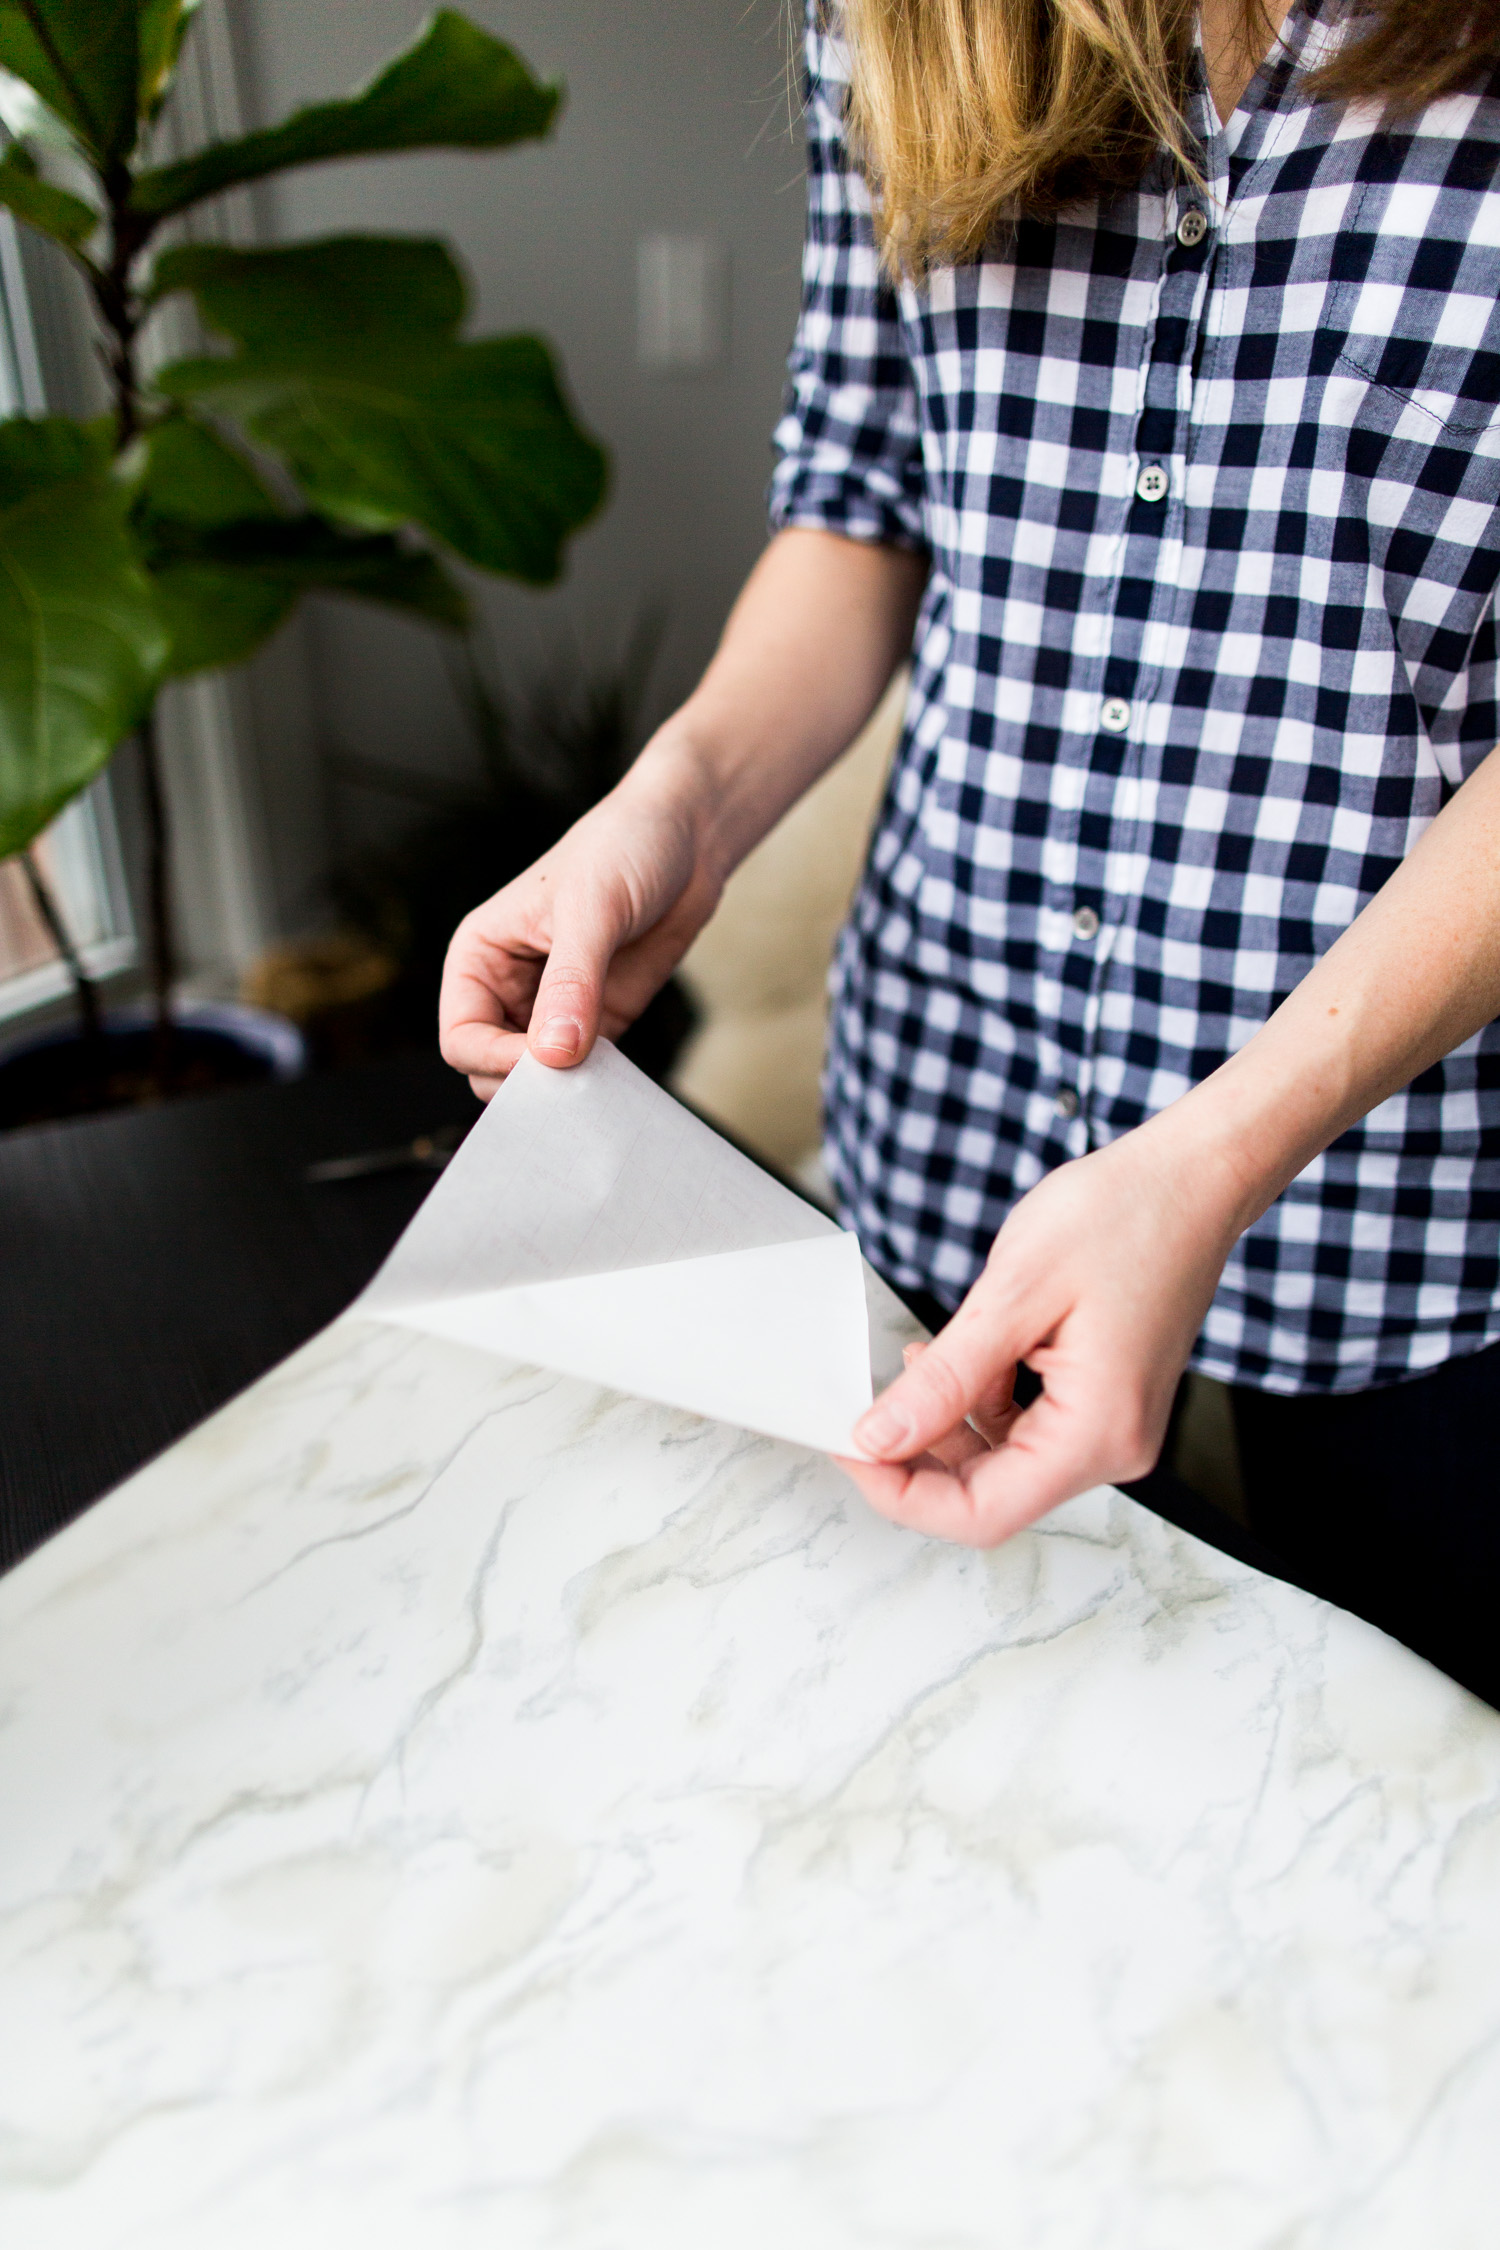
Carefully peel back the paper backing starting at the top corner of your cut sheet. Once you have a good six inches or so peeled back, attach the top to the desk, wrapping it all the way around the edge. Continue peeling back the paper and straighten the pattern as you go. The nice thing about contact paper is that you can easily pick it up and re-apply it. So don’t be afraid to take some time to perfect it 😉 Smooth out the top once you’ve perfected the alignment.

STEP 4: WASH, RINSE, REPEAT

Repeat Steps 2-3 with your second and third sheets of contact paper. Be sure to match up the pattern so you can’t tell there is a seam there. You will have to cut your third strip both horizontally and vertically. Attach them to the desk, and smooth out the top.


STEP 5: TRIM THE EXCESS
Pull out your handy dandy X-Acto knife and get ready to have your inner OCD child rejoice. Slowly trim along the front edge of the desk, ensuring you don’t cut too much and stay in a straight line. It helps if you gently press your knife along the edge, using is as a guide. Although don’t press too hard – it will slice right through that desk facing! Those things mean business.

Give it a final smooth and voila – you’re finished! Stand back and admire your handiwork (and your full wallet).


Not too shabby for less than $50, eh? What do you guys think? Would you give it a shot? Or better yet, got any other expensive furniture hacks to share?!
Thanks to Kelly for photographing this project!

Fabulous idea! Or should I say good IKEA idea!! Love!
Great Ikea hack!!